How to stop email forwarding
This article is about AdGuard Mail, a privacy-focused email management tool. To see how it works, get the AdGuard Mail app.
Disable an alias
Sometimes you no longer want to receive messages through a particular alias. In such a case, you can disable an alias instead of deleting it. Disabling stops the forwarding immediately but retains the alias in your list, allowing you to reactivate it later if needed.
To disable an alias:
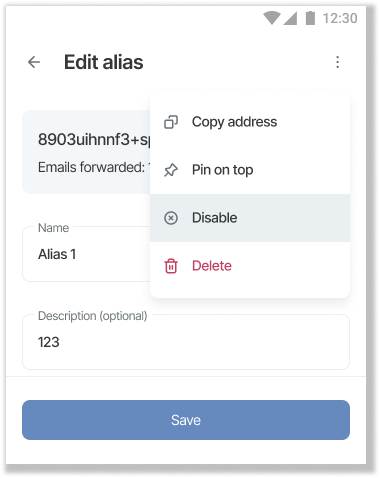
Go to Aliases, find the needed alias, click its settings ⚙️ icon, then open the three-dot menu in the upper right corner.

Click Disable in the menu.
Delete an alias
If you’re sure you won’t need an alias again, you can permanently delete it. Deletion removes the alias from your dashboard. Once deleted, that alias can’t be recovered.
To delete an alias:
Go to Aliases, find the needed alias, click its settings icon ⚙️, then open the three-dot menu in the upper right corner:
Click Delete.
Use ‘Block this sender’ option
For specific unwanted senders, you don’t have to disable or delete your entire alias. Instead, use the Block this sender option. This feature lets you block individual email addresses, ensuring that emails from that sender won’t reach your real inbox.
To block a sender, click Block this sender in the email header:
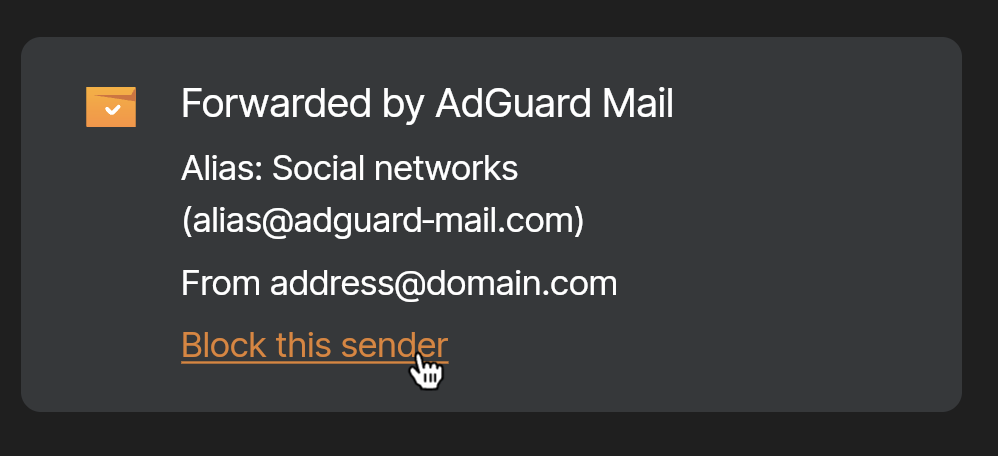
You can find the blocked senders and unblock them in Settings → Blocked senders.
If you block a sender in your main email client, it will also appear in AdGuard Mail’s Blocked senders. However, you can unblock such a sender only in your email client.