Getting started
This article is about AdGuard Mail, a privacy-focused email management tool. To see how it works, get the AdGuard Mail app.
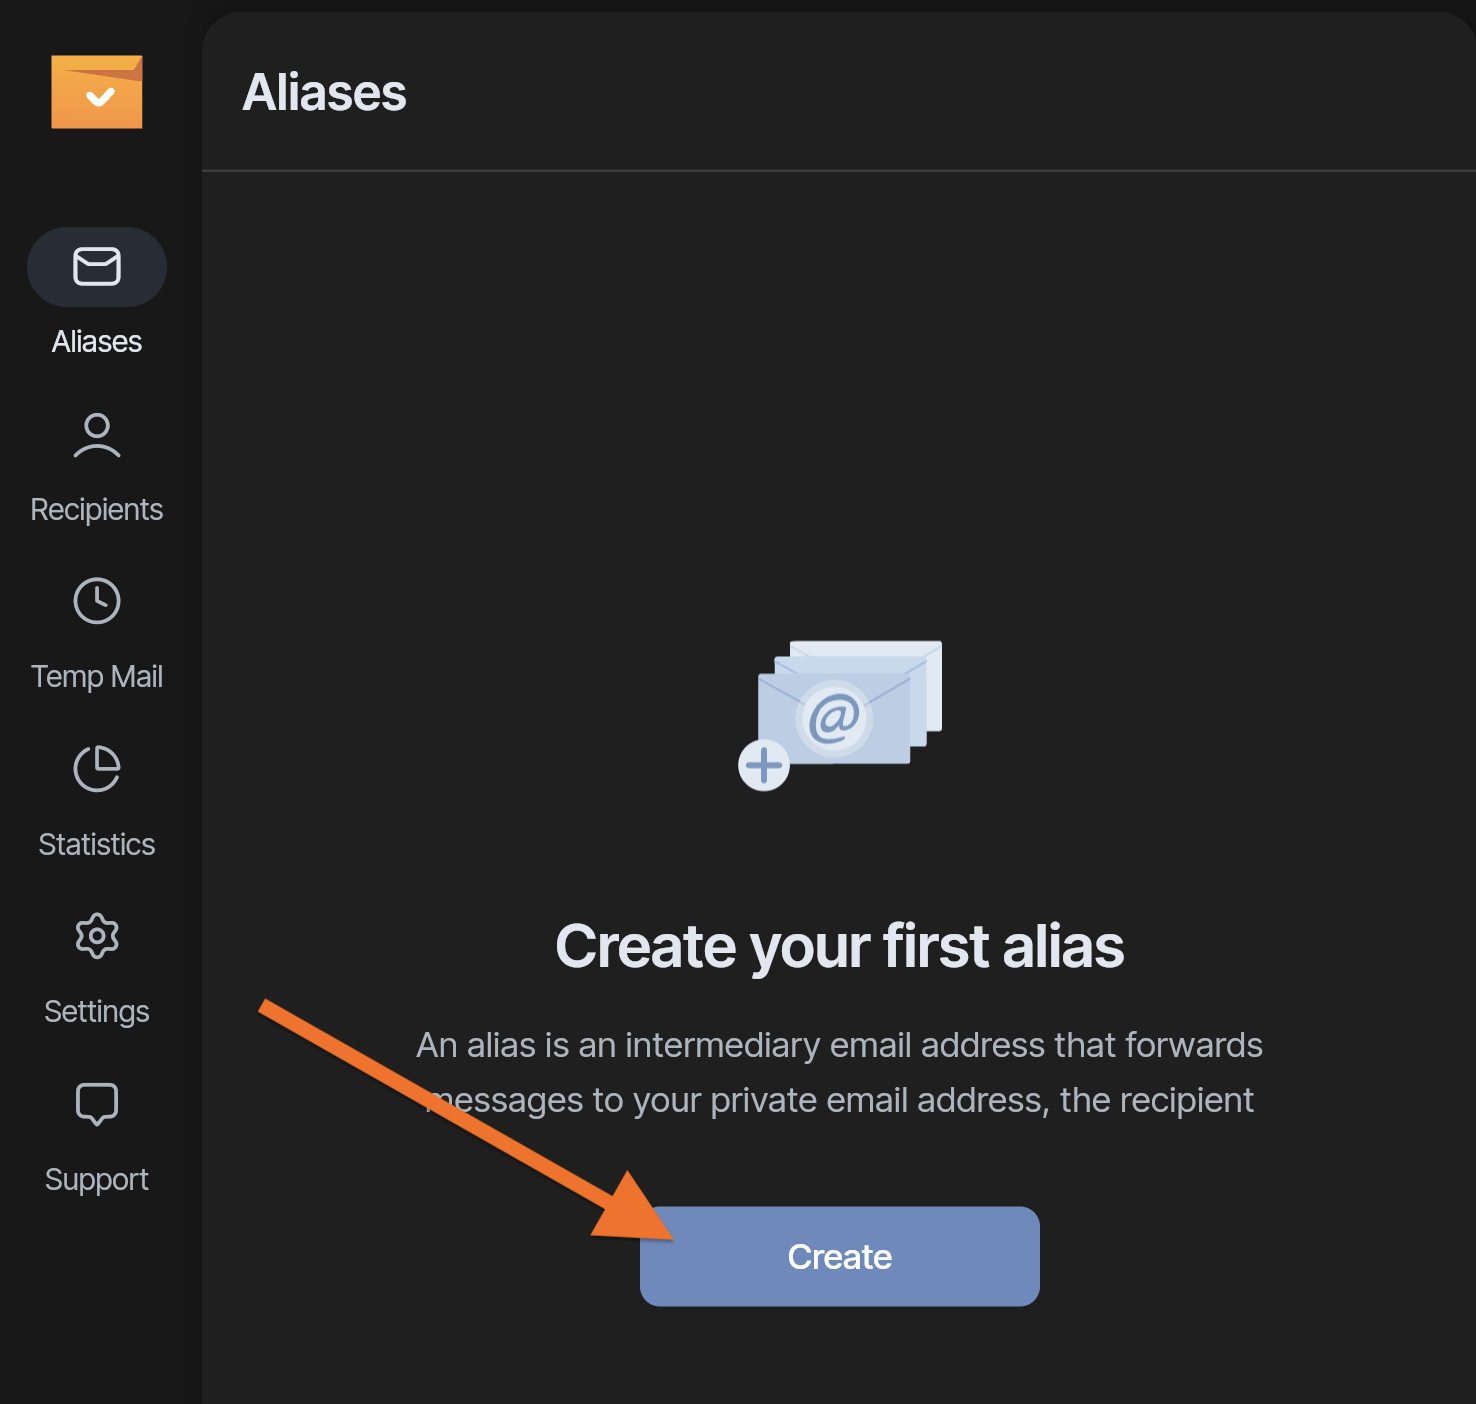
How to create an alias in AdGuard Mail
Open your AdGuard Mail.
Click Aliases in the side menu.
Click Create or +.

Click the dice icon if you want to regenerate the alias.
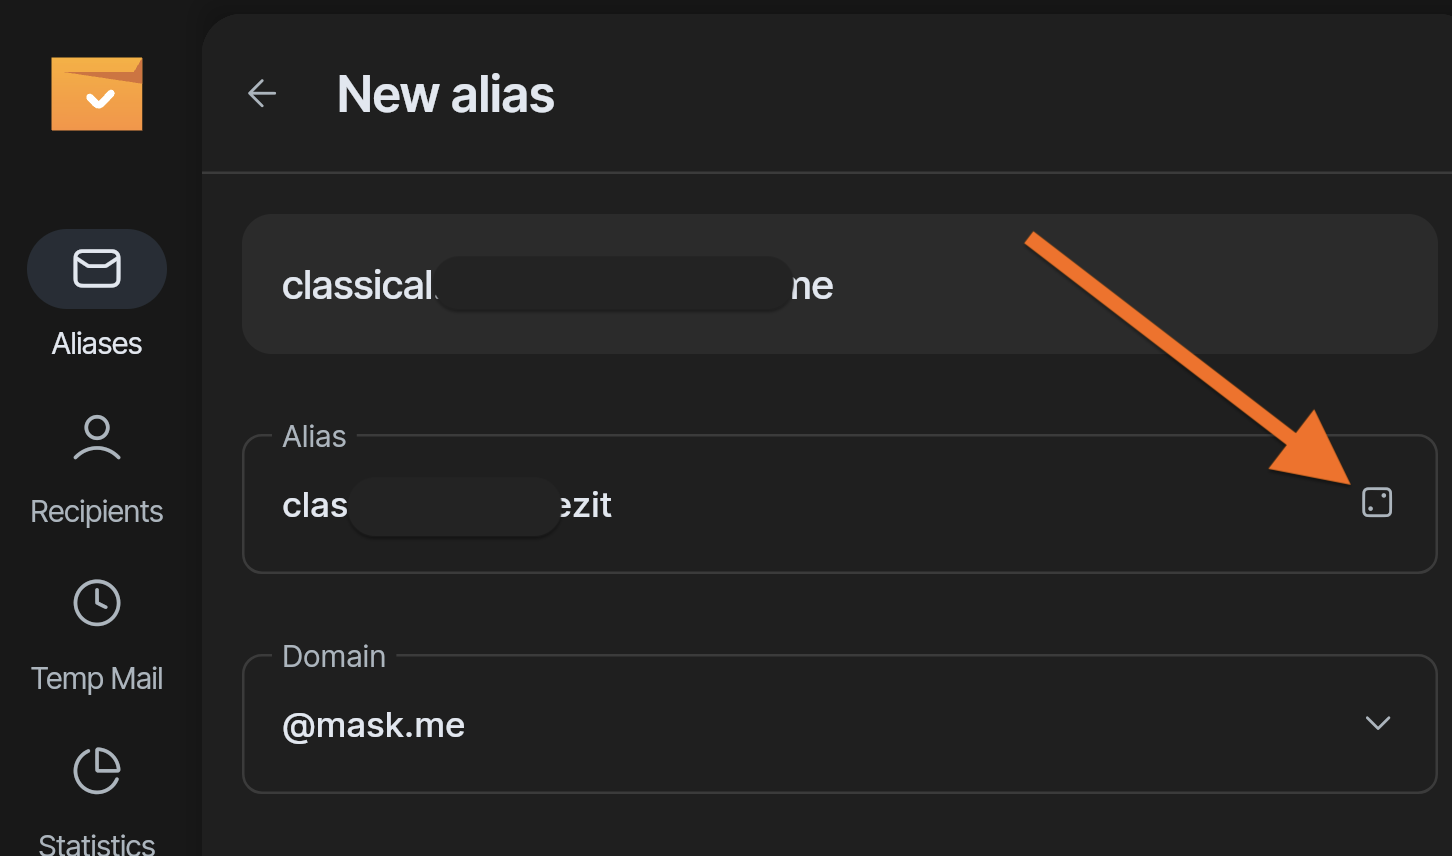
Assign a name and description to the alias to make identification inside AdGuard Mail easier (optional).
Choose a recipient that should be linked to this alias.
Enter a tag to use subaddressing (optional).
Click Create.
Done! Use the alias as a unique email address to share or sign up on online platforms.
This new alias will act as a will protect your personal data by forwarding messages to your selected inbox without exposing your real email address.
What is a recipient?
In AdGuard Mail, a recipient refers to your actual email address that receives the forwarded messages from your aliases. You can add multiple recipients under your account. This allows you to manage different types of forwarded content — for example, separating work and personal messages.
Subaddressing
Subaddressing is a feature that lets you “tag” an alias so that it’s easier to find it in your main inbox.
Here’s how it works: instead of creating alias@adguardmail.com for online shopping platforms, you can create aliases that look like alias+shops@adguardmail.com — that’ll allow you to easily find and filter all shopping-related emails forwarded from AdGuard Mail. For example, you can search for your alias+tag@adguardmail.com by using +tag@adguardmail.com. Some email clients also allow creating filters for such tags.
Multiple aliases
You can use multiple aliases (currently 10) at once. This is useful when, for example, you need a special alias for newsletters, for a short-term project, for shopping, and so on.